
How to build a simple Raycast extension
I recently started using Raycast and I am absolutely in love with it.
Raycast is a blazingly fast, totally extendable launcher. It lets you complete tasks, calculate, share common links, and much more. - raycast.com
If you use Mac and the Spotlight function I highly encourage you to try out Raycast as it improves on basically every aspect compared to traditional Spotlight.
A big feature is the the marketplace where the community can upload new extensions for everyone to use. As I use Chakra UI at work and for personal projects I find myself visiting the documentation for Chakra quite often and since there was no Raycast extension to browse the Chakra docs yet I decided to build one.
This is no fancy extension but if you want to get started building your own Raycast extension, hopefully I can give you a few pointers and make the process a little easier for you.
Prerequisites
You need Node.js and Raycast installed, an editor and familiarity with React & Typescript won’t hurt, that’s it.
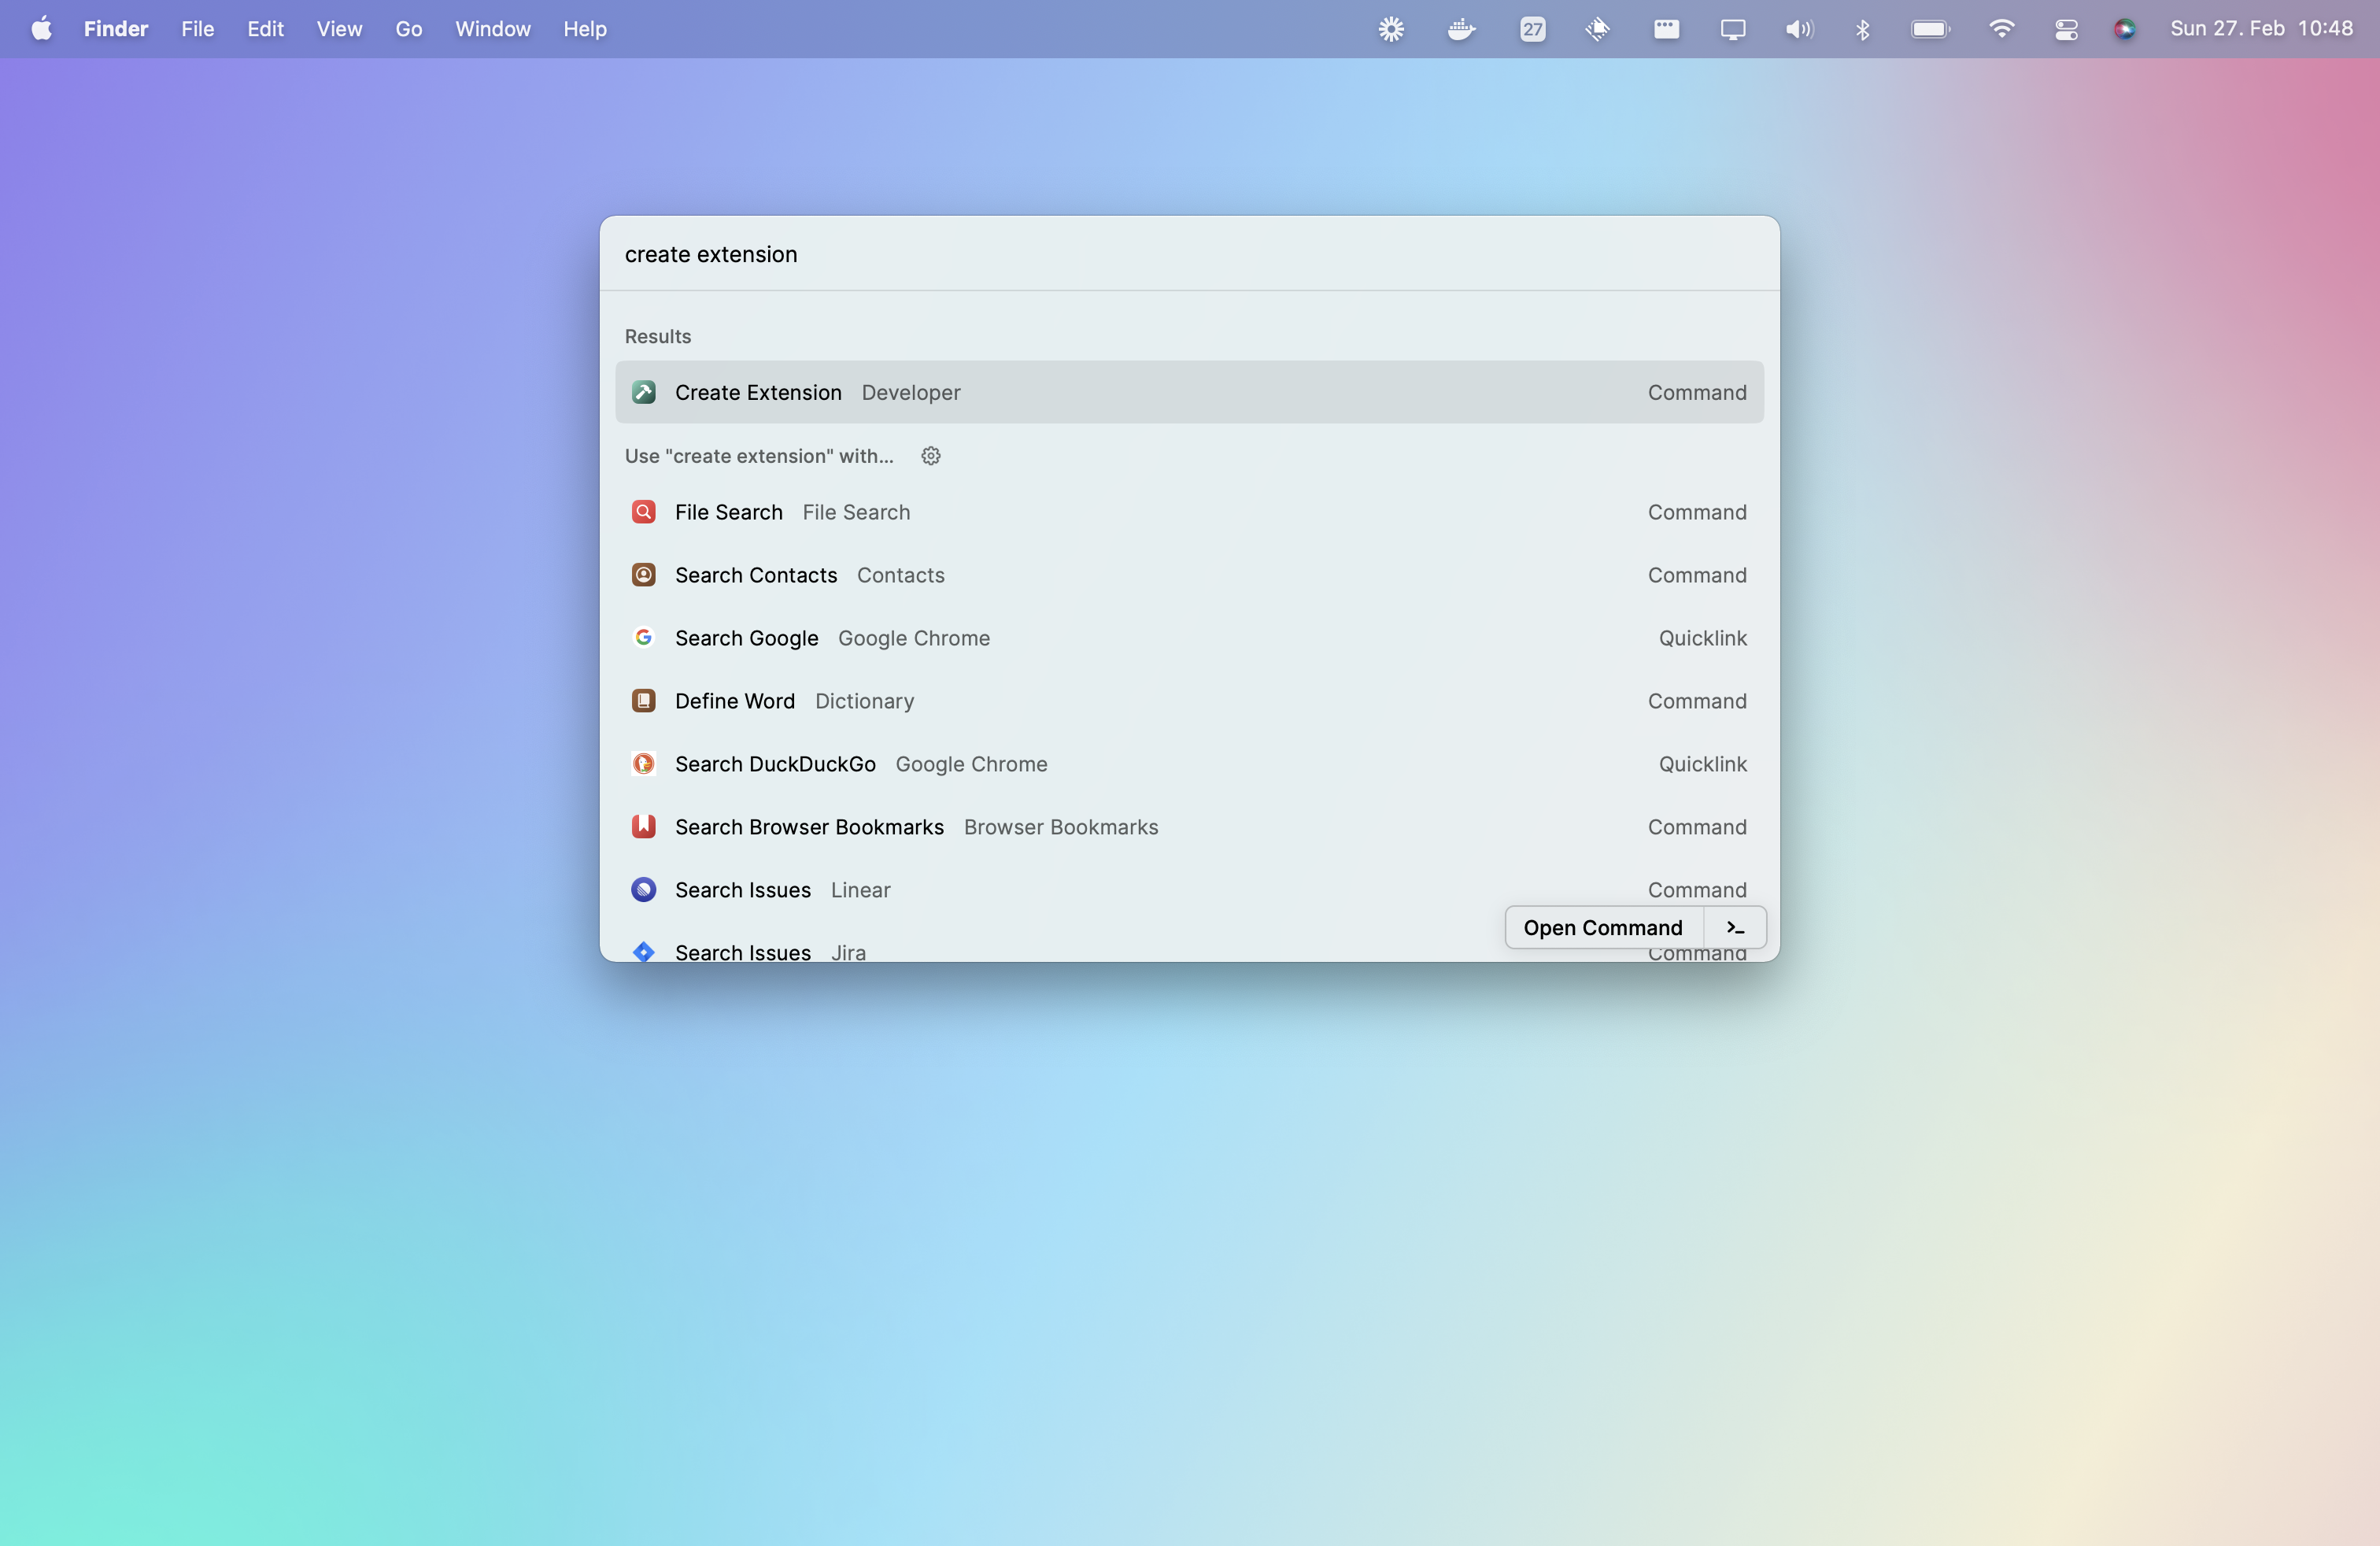
To get started you can simply use Raycast to scaffold a starting template.
Fill out the details and choose the "Hello World" template. Note that I just specified a general folder for the location, Raycast will create a folder for you with the same name as you give the extension.
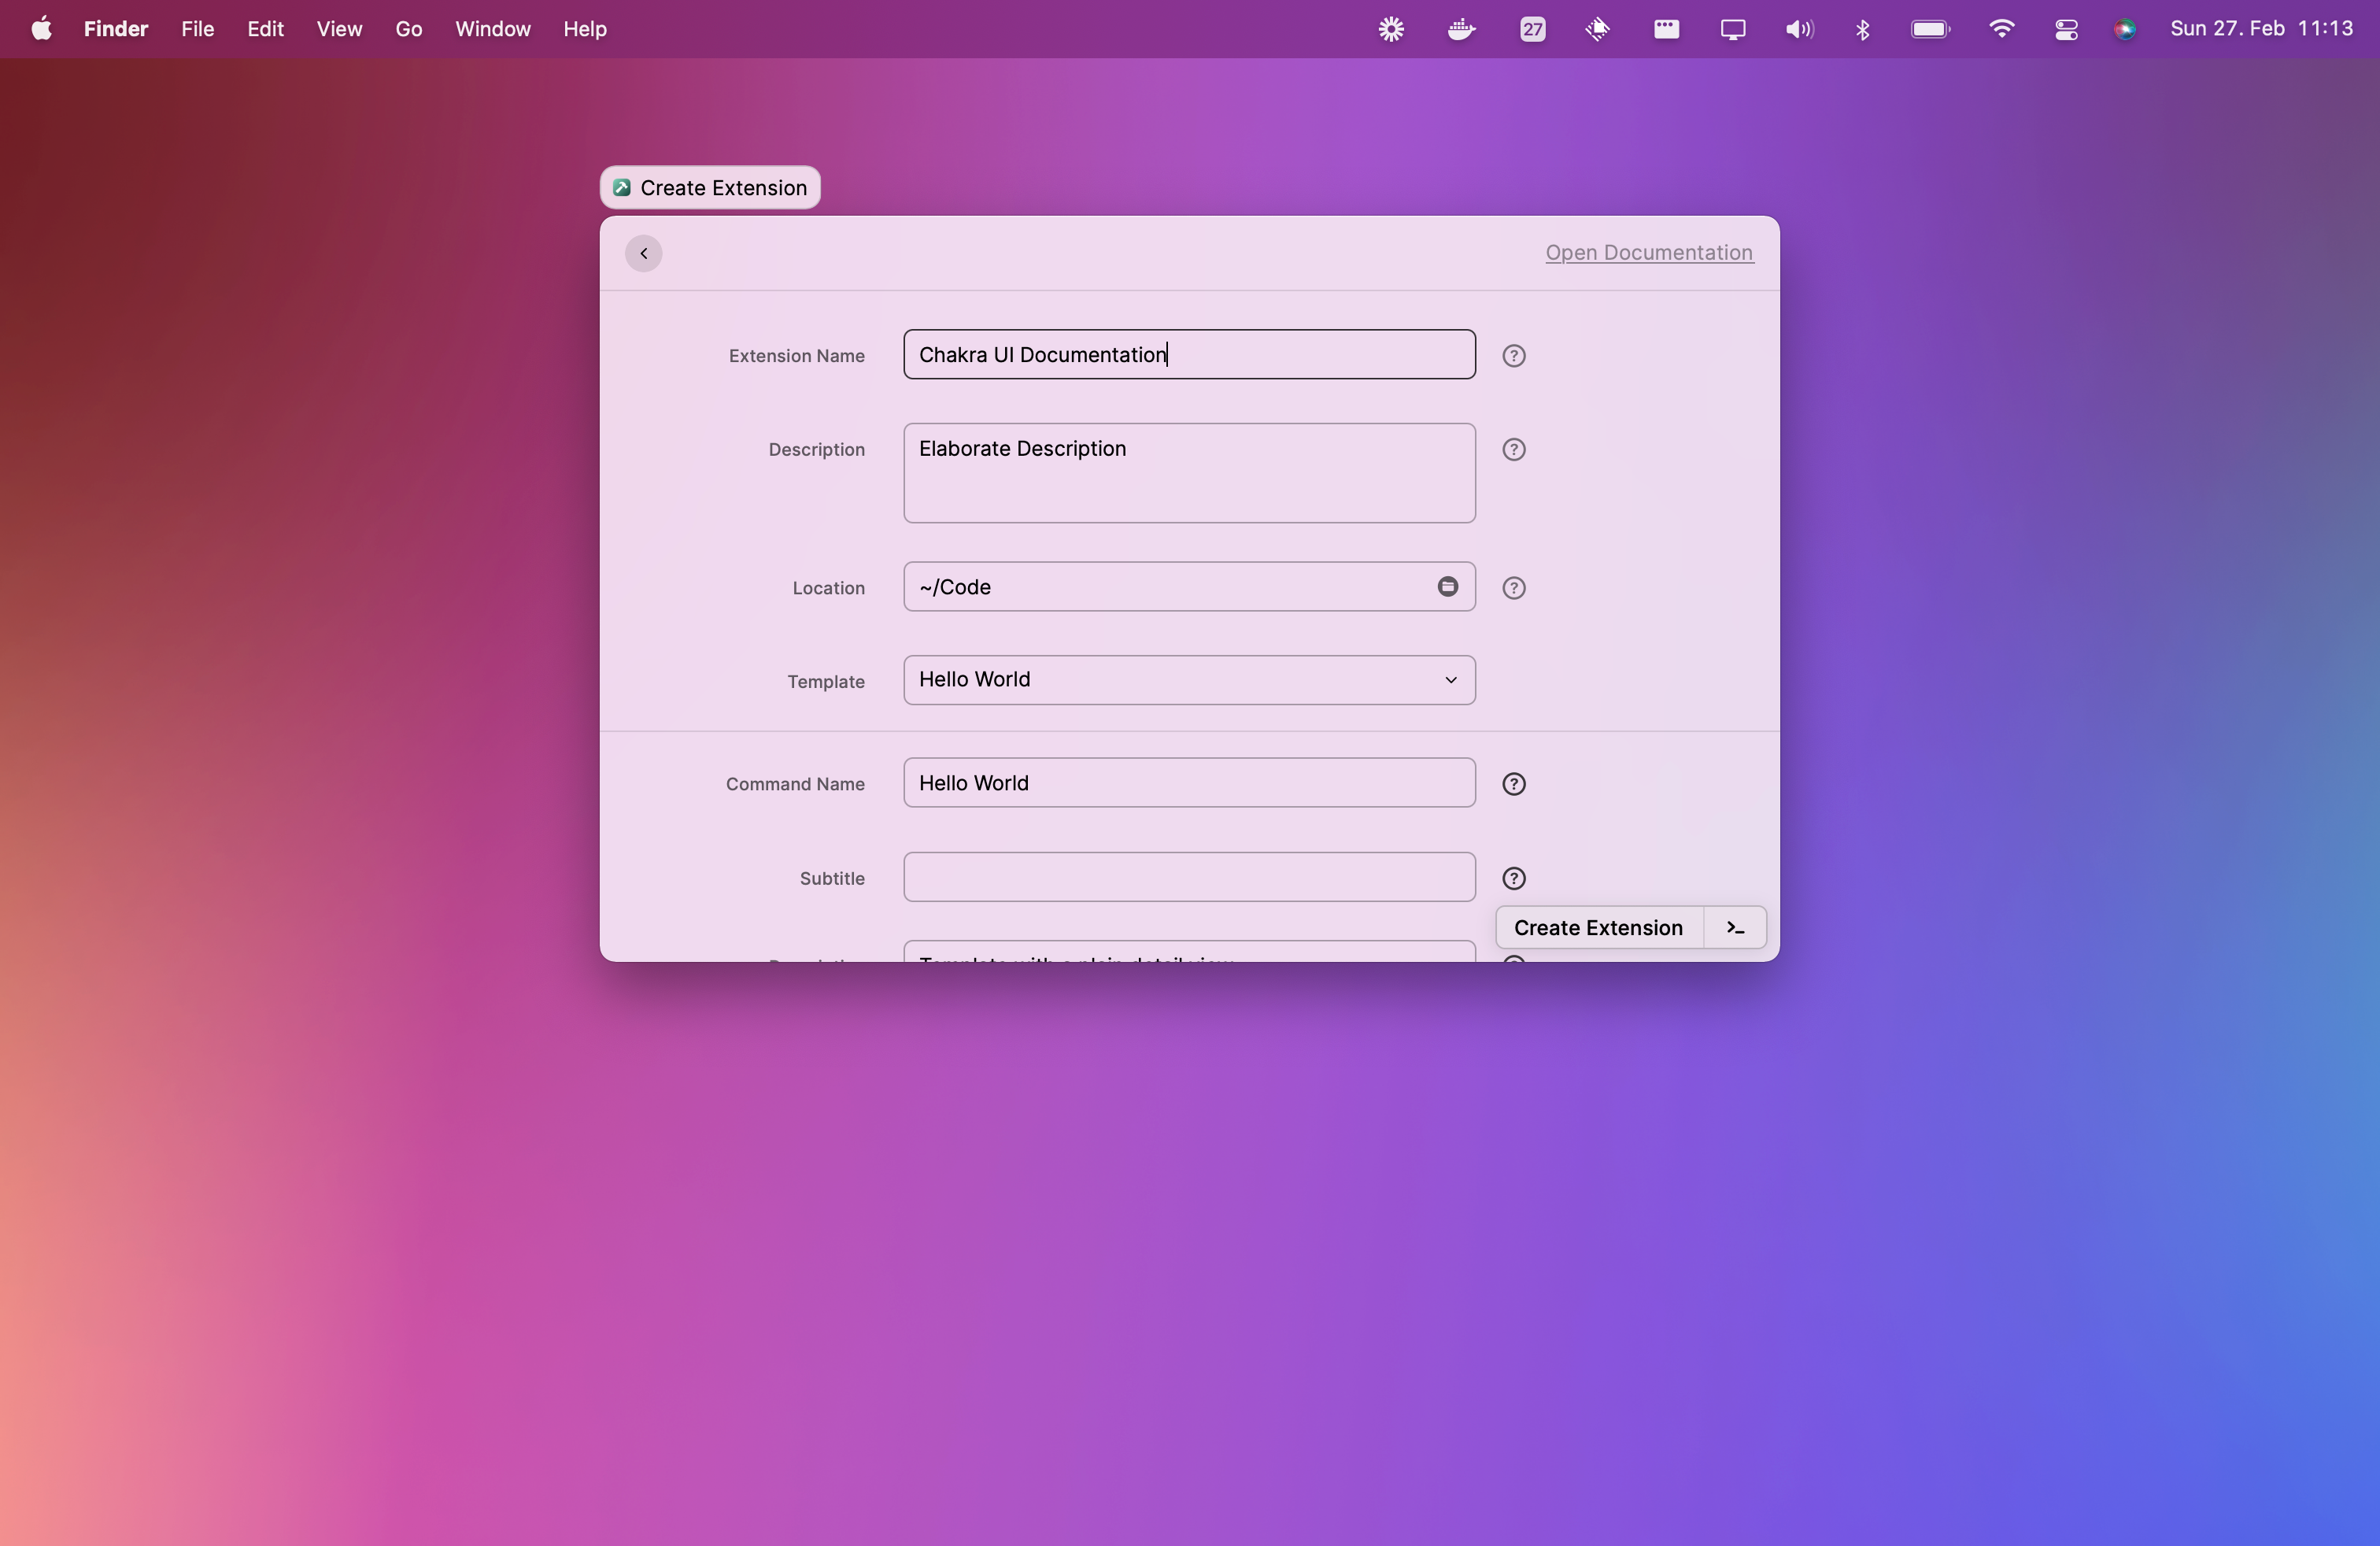
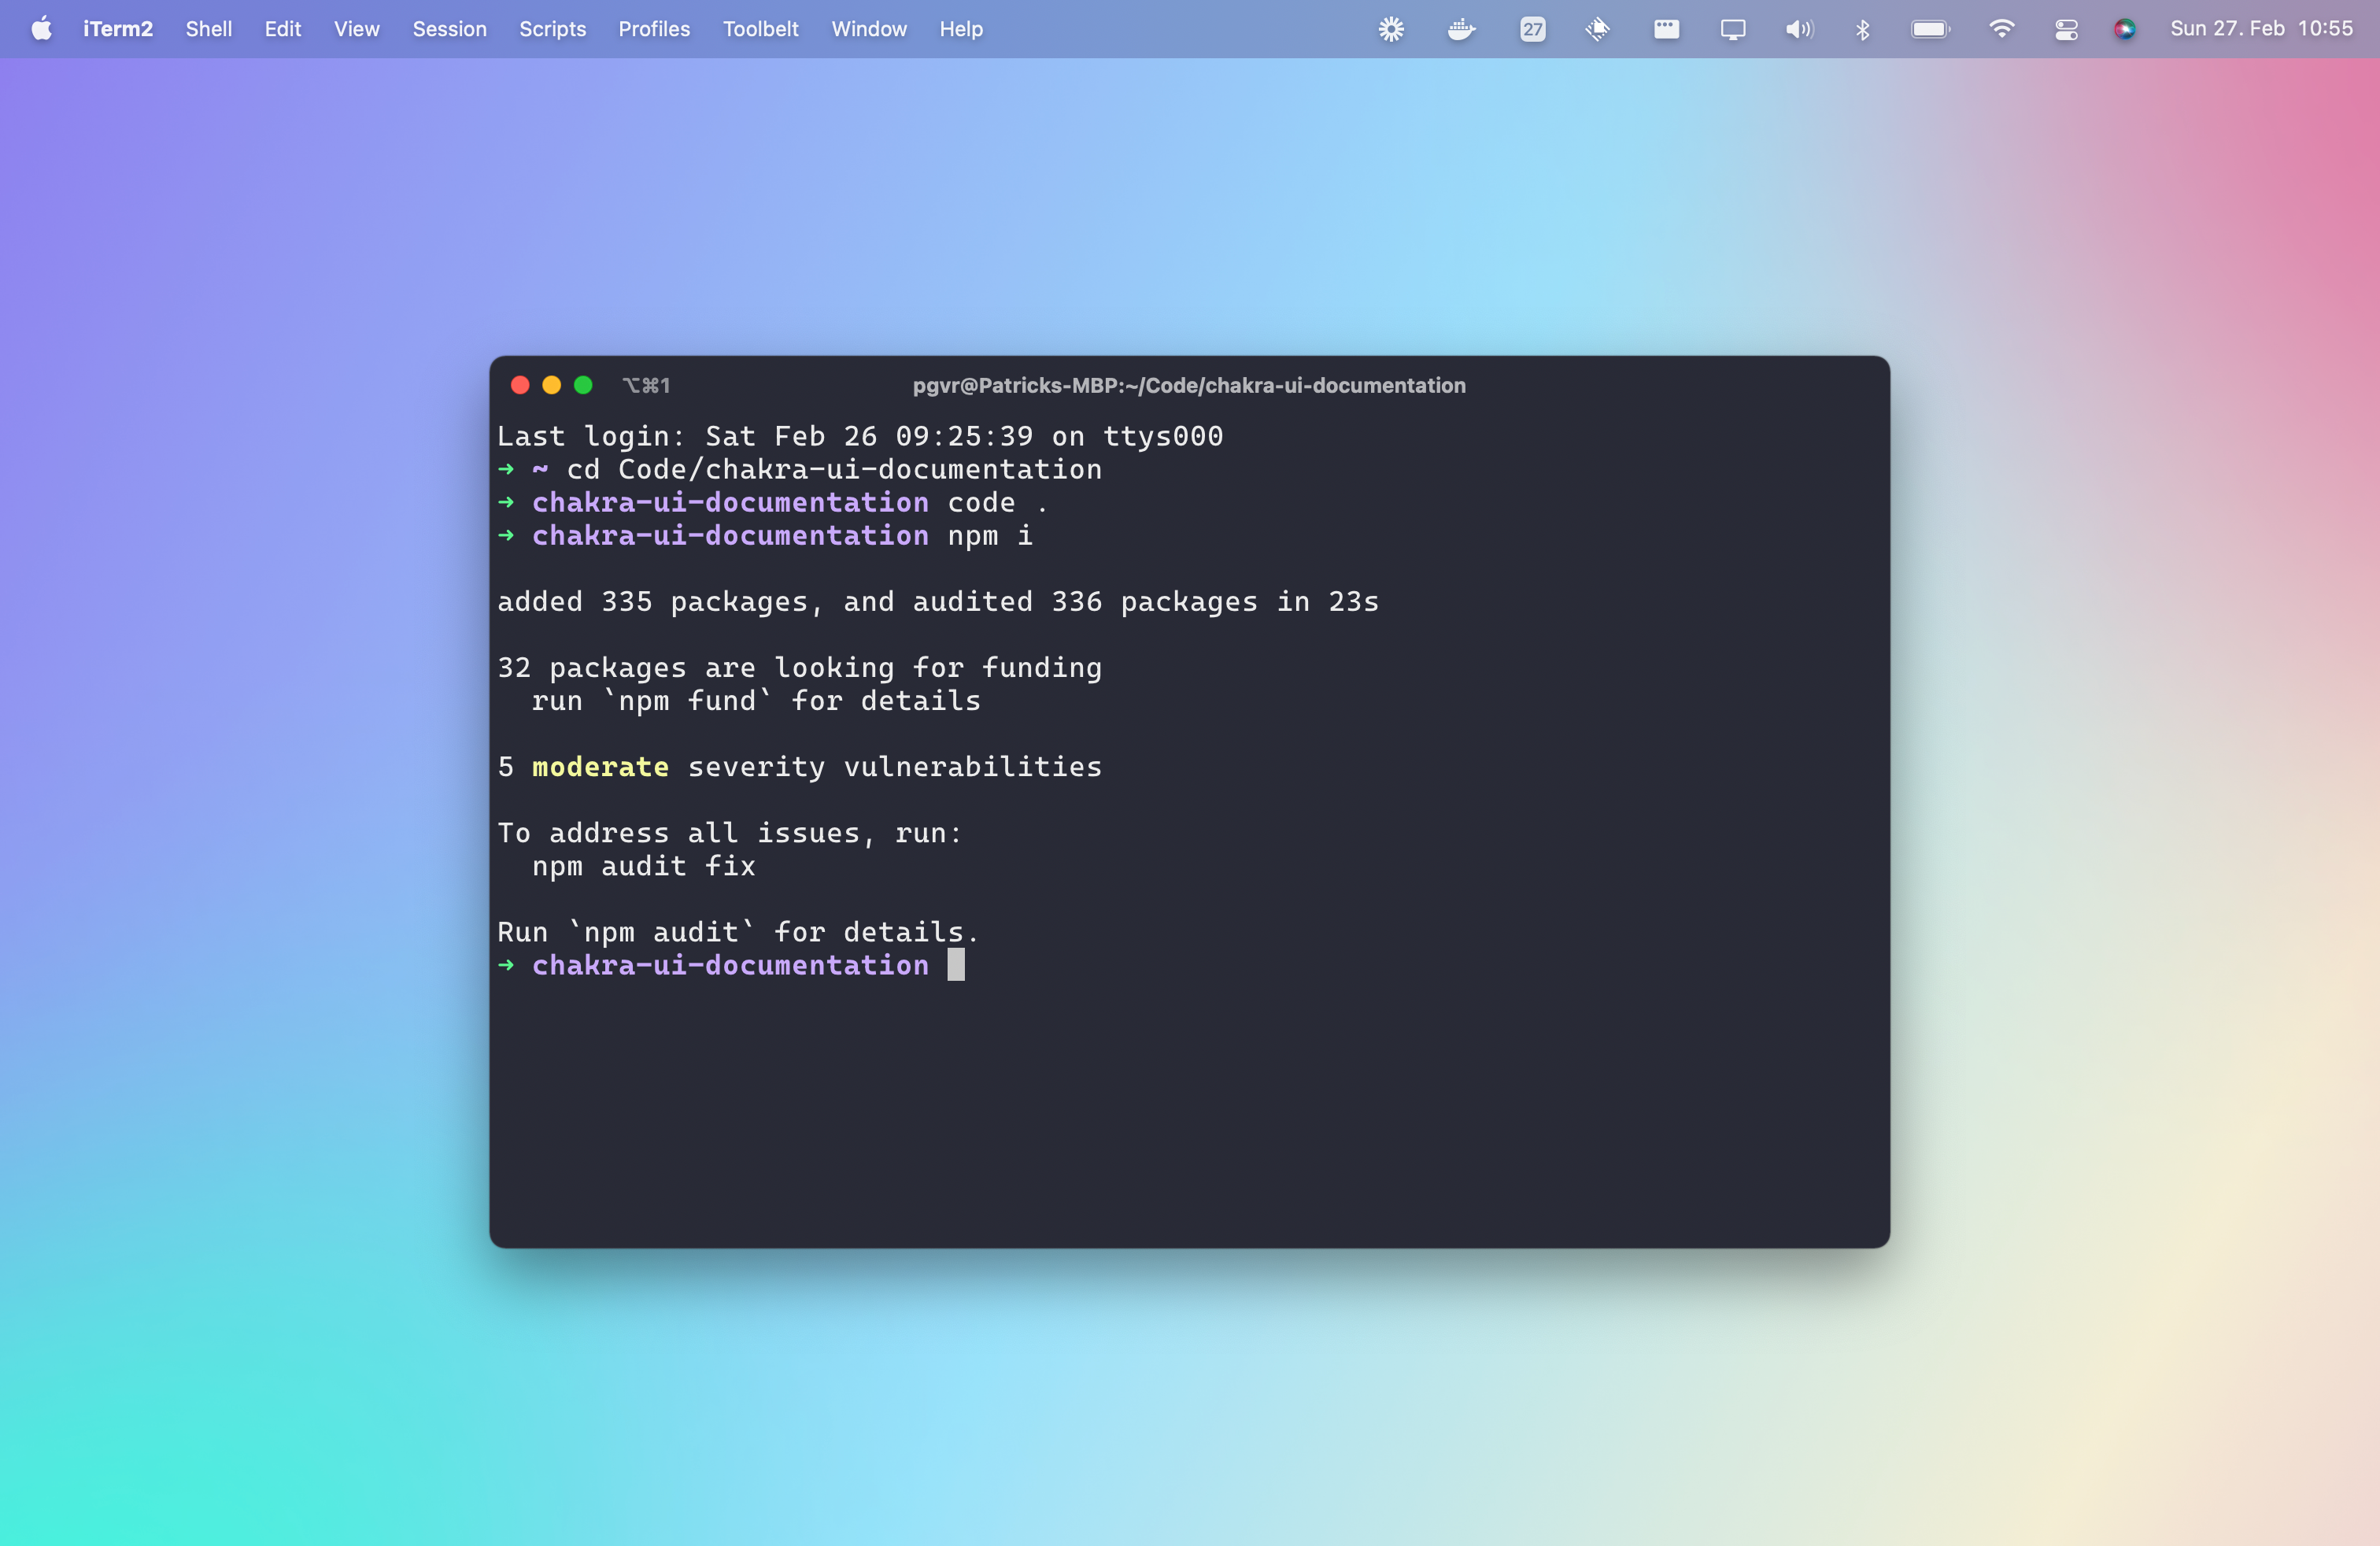
Hit "Create Extension" or use CMD+Enter to create the template. Navigate to the created folder, install the dependencies and open up your editor.
Replace the contents of src/index.tsx with this:
// src/index.tsx
import { Action, ActionPanel, Icon, List } from '@raycast/api'

const items = [
  {
    title: 'Button',
    url: 'https://chakra-ui.com/docs/form/button',
  },
]

export default function Command() {
  return (
    <List searchBarPlaceholder="Filter by title...">
      {items.map((item) => (
        <List.Item
          key={item.title}
          icon={{ source: Icon.Link }}
          title={item.title}
          actions={
            <ActionPanel>
              <Action.OpenInBrowser url={item.url} />
            </ActionPanel>
          }
        />
      ))}
    </List>
  )
}
And with this little code the extension is practically done. You can try it out by running npm run dev and when you open Raycast while this command is running you should see the Hello World command popping up where you can test your extension.
There are a lot of other cool components that Raycast provides so you can let you creativity run free.
If you want to publish an extension I recommend you take a look at the proper documentation for that and maybe check beforehand whether this extension already exists.
That’s it, thanks for reading ✌️